OR how I learned to stop worrying and love being stuck at home for weeks on end.
Who am I kidding? If I didn’t like cooking so much and I actually enjoy grocery shopping, I could probably be perfectly content just about never leaving the house. I have so many hobbies and things I like to do, it never occurs to me to get bored. There’s always something new to learn or try and while I do enjoy walking outside, most of my interaction with others is out of necessity so I don’t regress to grunting and pointing. Especially now that I have a little one who’s a tiny sponge and I’d like her to be creative, but less of a social reject than her mother.
Ugh, I just did that thing I hate: told you a long-ass story instead of GETTING TO THE POINT! Here, have some sewing.
DISCLAIMER: if you’re looking for a super serious tutorial, you may want to… keep looking. Because I’m a smartass.
WHAT WE’RE MAKING

STUFF YOU NEED
- 1- 8 x 12″ piece of pleather or whatever equiv. for the exterior
- 2- 8 x 6″ pieces of lining fabric (I use quilting/ craft cotton)
- 1- 1 x 12″ strip of pleather for the wrist strap
- 1- 1 x 5″ strip of pleather for the strap ring holder
- 1 small D-ring (“but why are there two in the photo, Steph?” Because I fucked up, leave it be.)
- 1 D-ring clip (mine is a little big, but it’s what I had on hand and I’m not about to buy more craft stuff. The point is to USE UP what I have).
- A zipper, preferably one FAR too long. You could use a 9″ zipper, but I’d recommend at LEAST a 12″ or 15″. There are Reasons.
- OPTIONAL: 1- square/ circle/ heptagon/ enneagram piece of pleather to line the back of your cut out. The size entirely depends on the size of your cut out, it just needs to be large enough that you can safely stitch around the outside of your shape, with a reasonable seam allowance. Extra can be trimmed, it’s a pain in the ass to deal with a small margin.
OTHER TOOLS
- Fabric/ quilting clips- you don’t want to pin pleather. You can, but you’ll ruin the fabric and it will look like shit.
- Sewing machine (I prefer my heavy duty machine for pleather, and I mean, you could do this by hand, if you really wanted to… I do not, so…)
- Thread (fucking duh)
- Scissors
- Pen-knife
- Marking pen or chalk

MEASURE YOUR SHIT
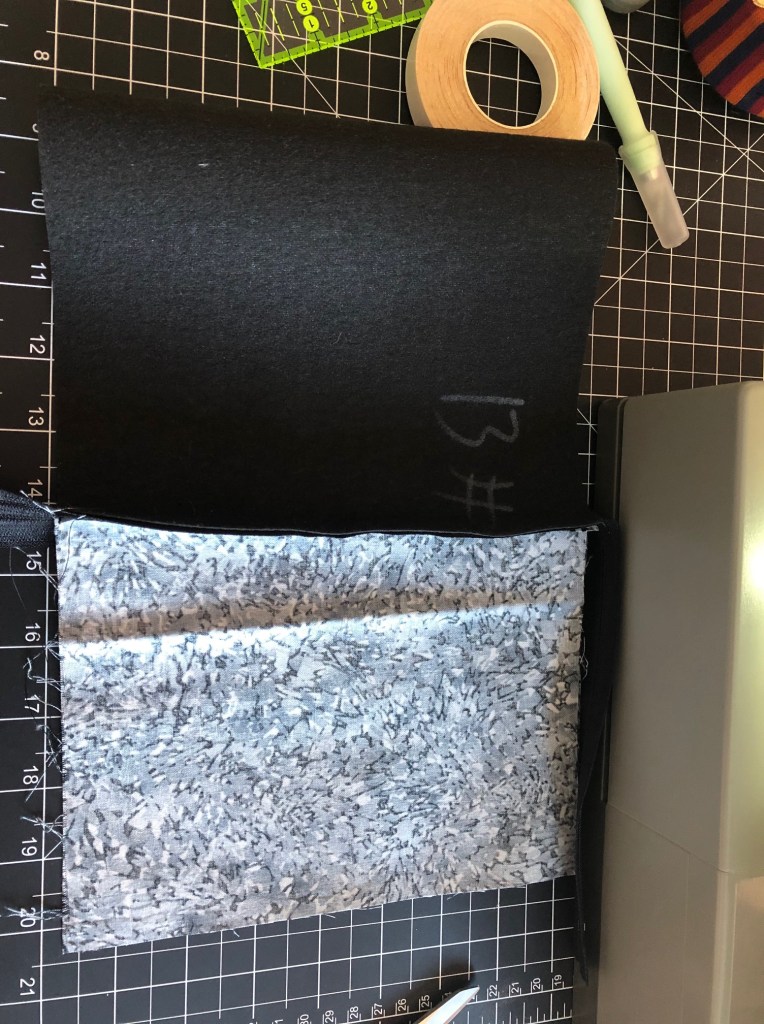
I picked up some pleather (the patterned stuff) which came in a super weird dimension- 13.25(ish) in. x 7.75(ish) in. The black I cut from a larger piece to measure a full 8 x 12 inches. Why? Because I’m tedious like that.
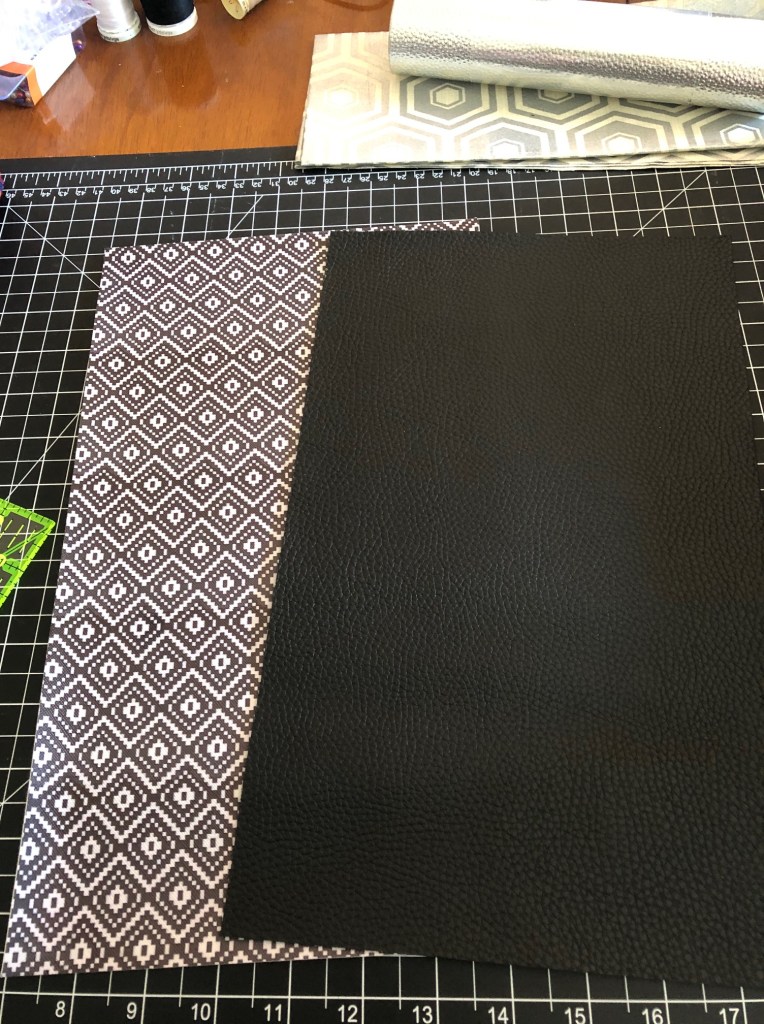

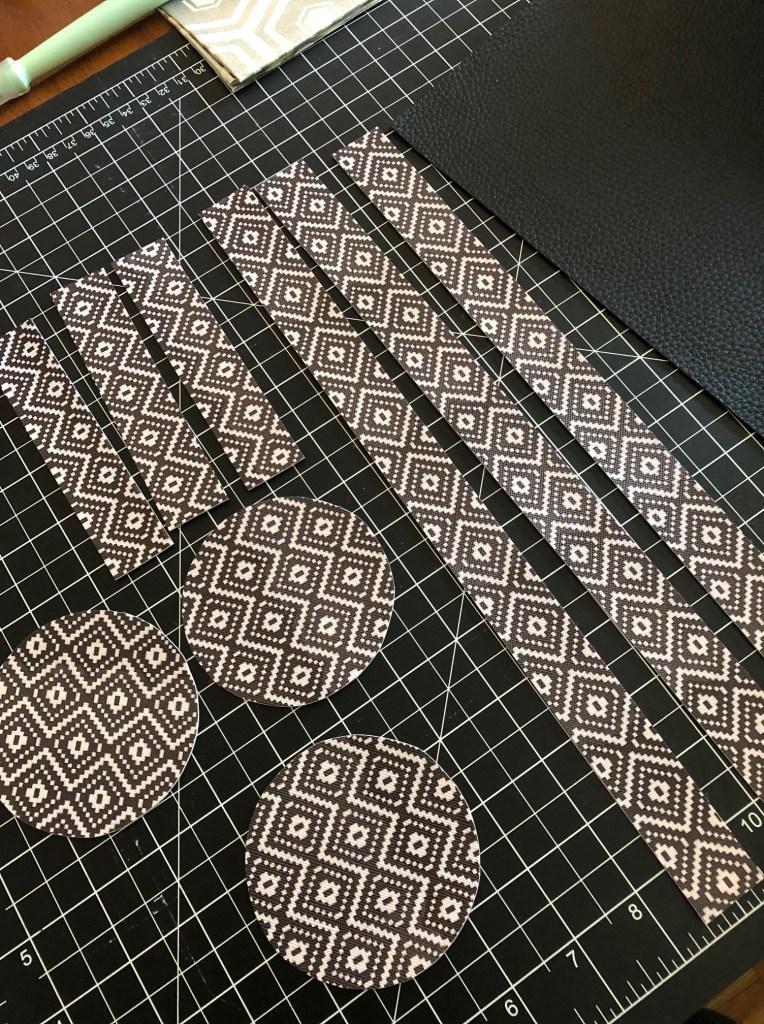
NOT PICTURED: me cutting three 1″ strips off the long end of the patterned piece and then three 1″ strips of the remaining short end. The end product can be seen below.
The lining should be cut the same size as the exterior, 8 x 12 inches. Fold the lining in two, and cut it in half.
OPTIONAL DECORATIVE SHIT
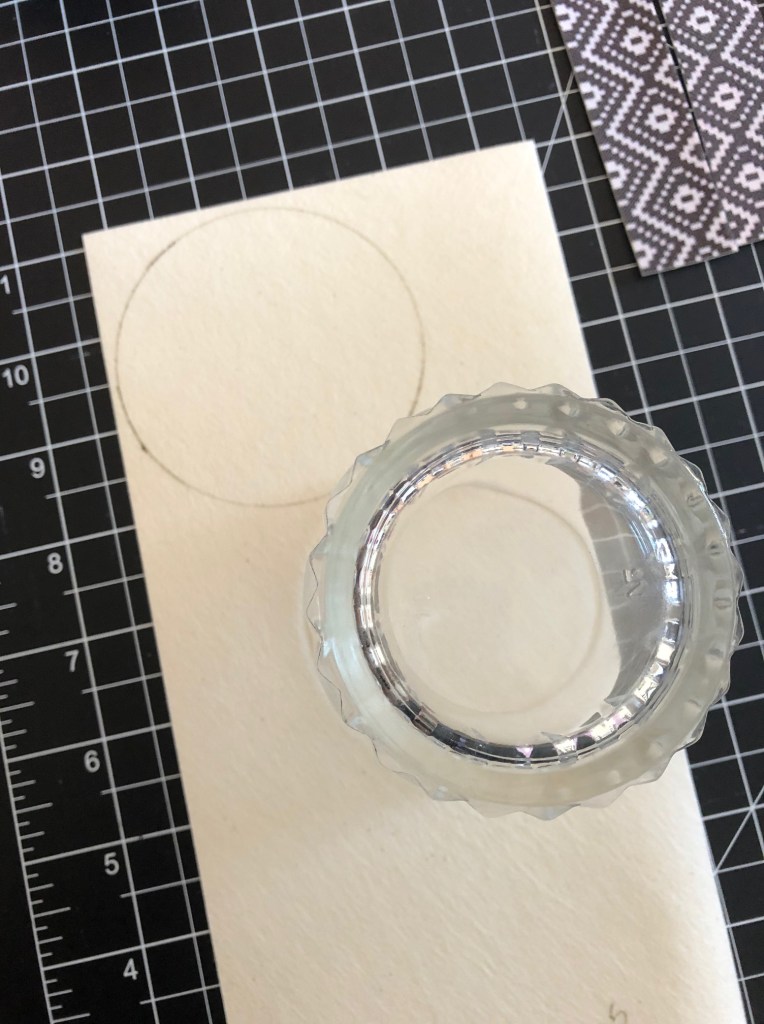
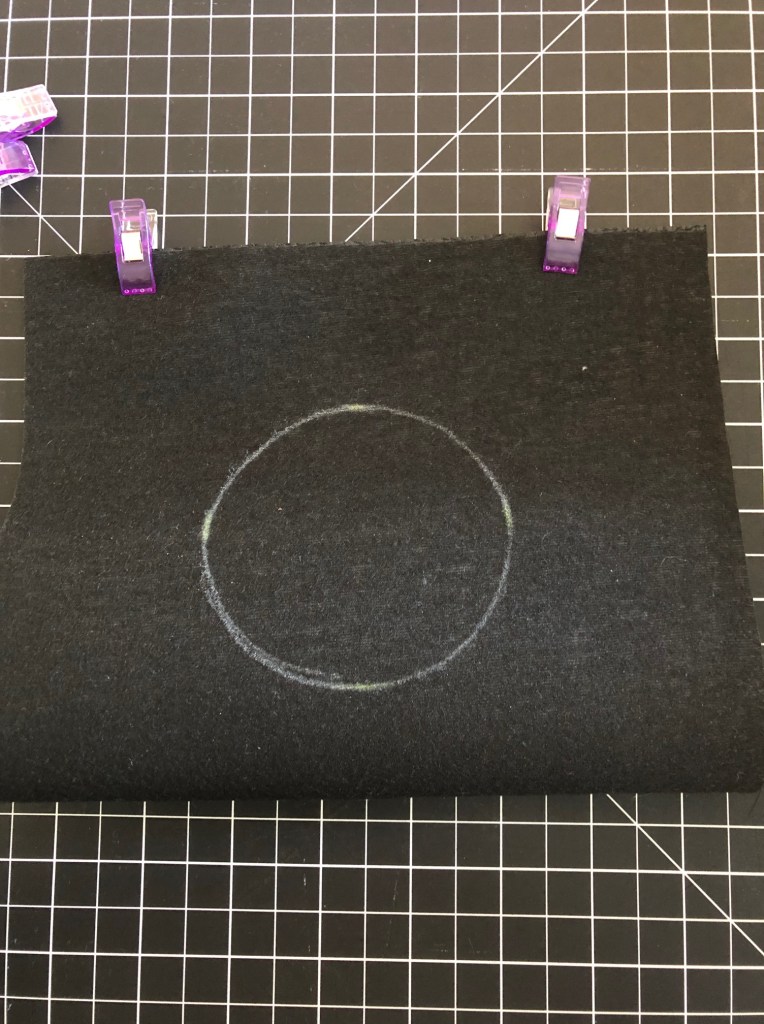
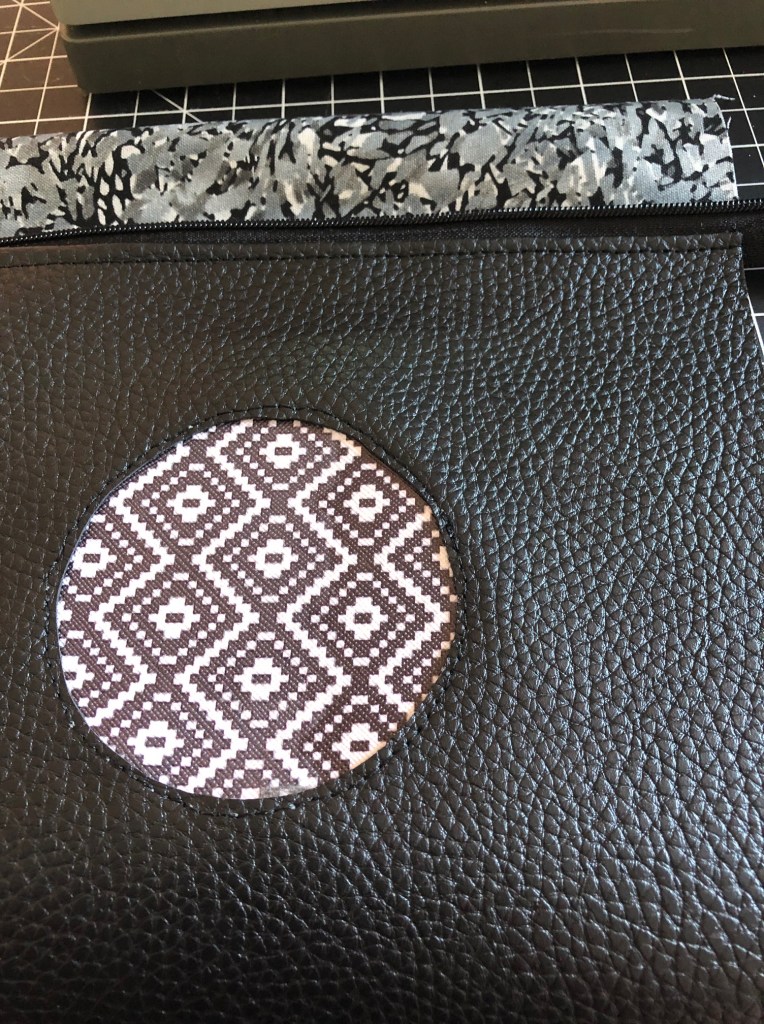
Then, we do ze circles. Or hearts, or squares, or whatever fucking shape you want, I don’t care. Just remember, you have to stitch around the outside of every edge of the shape. So before you declare your allegiance to the rebel alliance, or have your Spectre status recognized, maybe practice with a simple shape first. Or not, I’m not your mother.
CUT YOUR SHIT

OPTIONAL: PUT A HOLE IN YOUR BAG
You know, for the inset we cut out? Keep up.
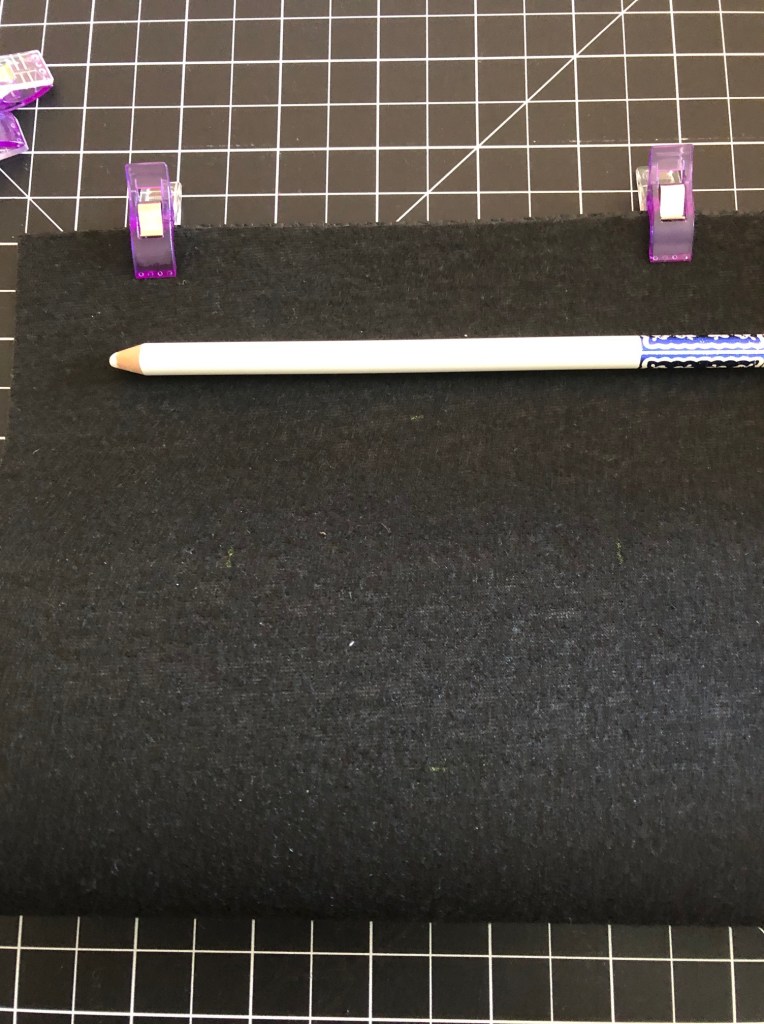
Mark that shit with your trusty yellow glitter pen!

Then seriously go find a proper marking pencil or chalk because no one can see that shit.
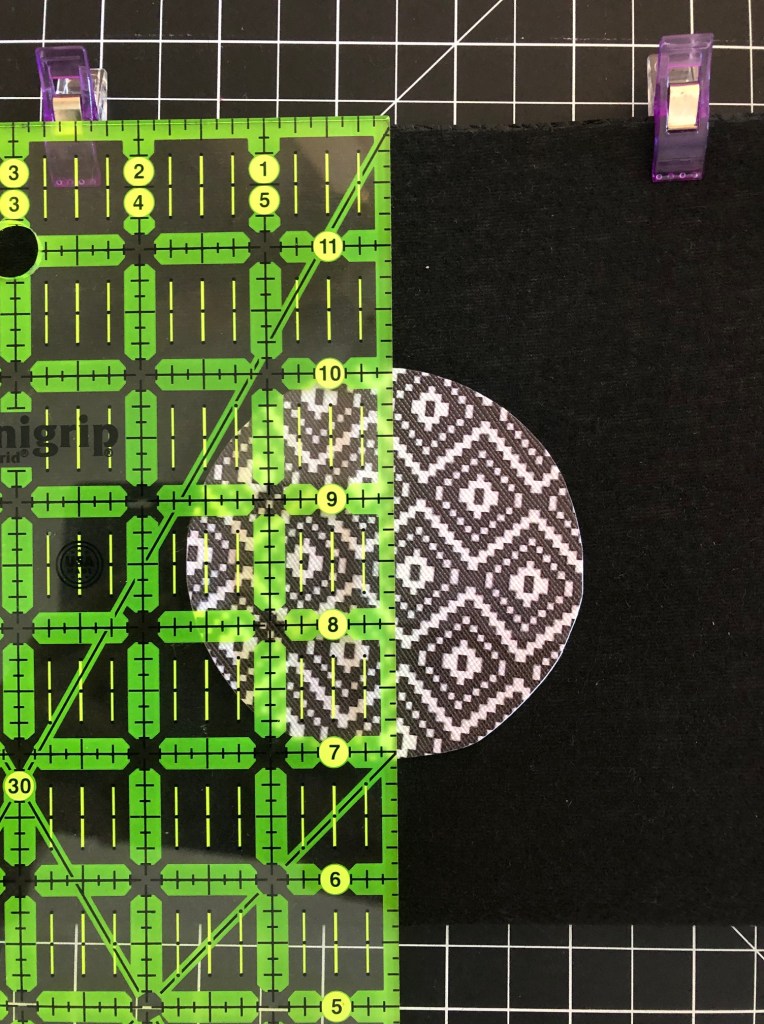
Then draw a line somewhat smaller than your original shape, because if you cut the hole the same size as the thing going behind it, you’re going to have a bad time.
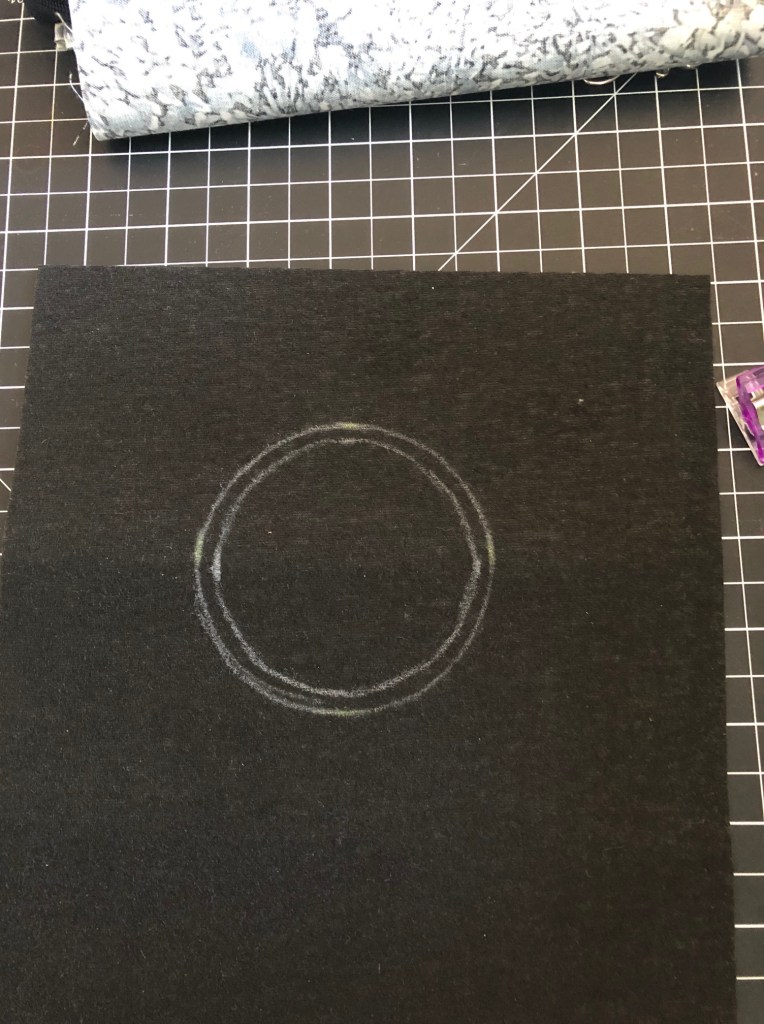
Cut that mother-fraker out.

Line up your shit.
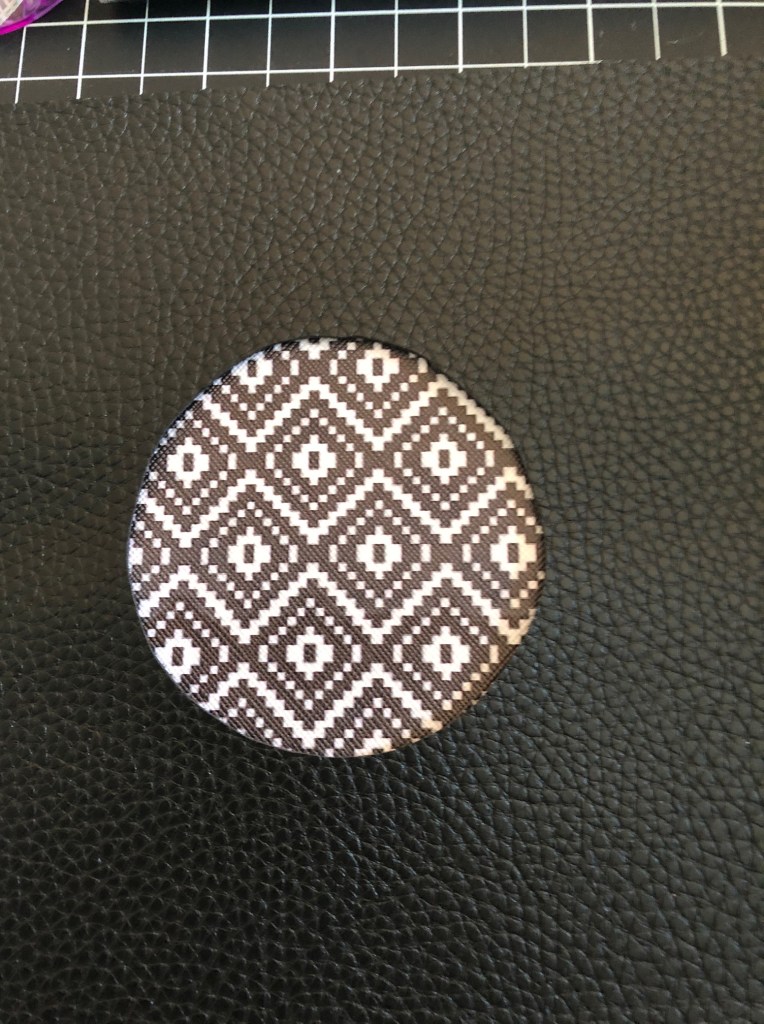
Stick that little fucker down. I used two sided tape. Why? Because that’s what I had on hand which didn’t require me to rummage through nine and a half thousand tonnes of supplies looking for something like leather glue. Which I also have… somewhere.

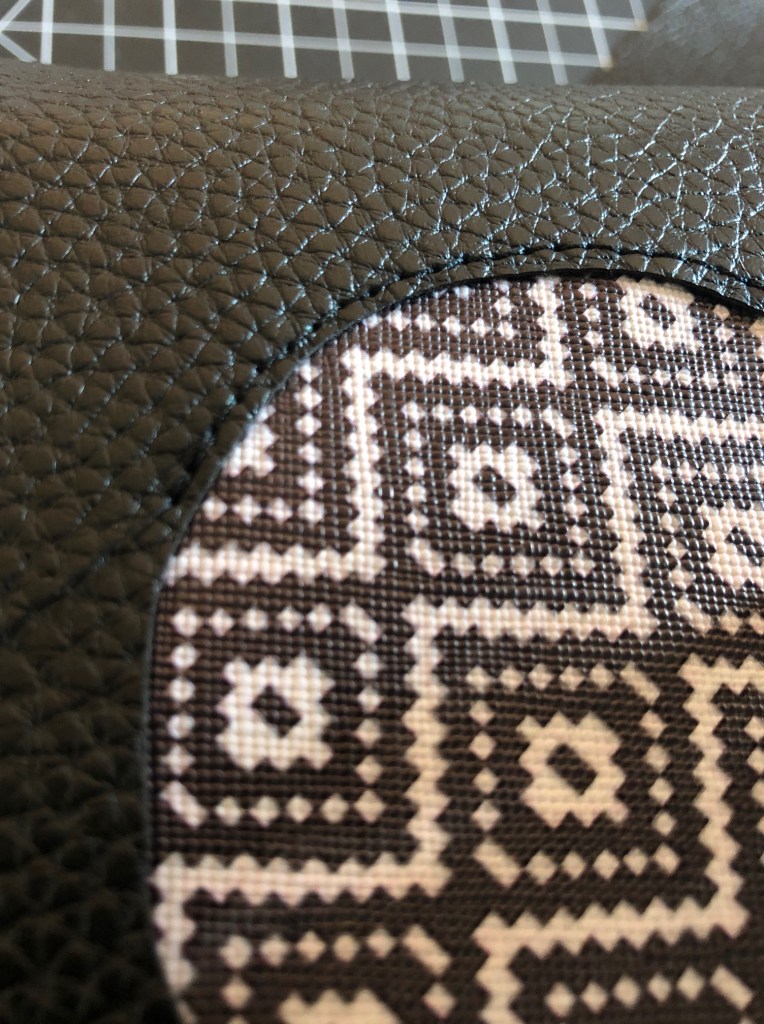
Now we actually start sewing this beastie together!
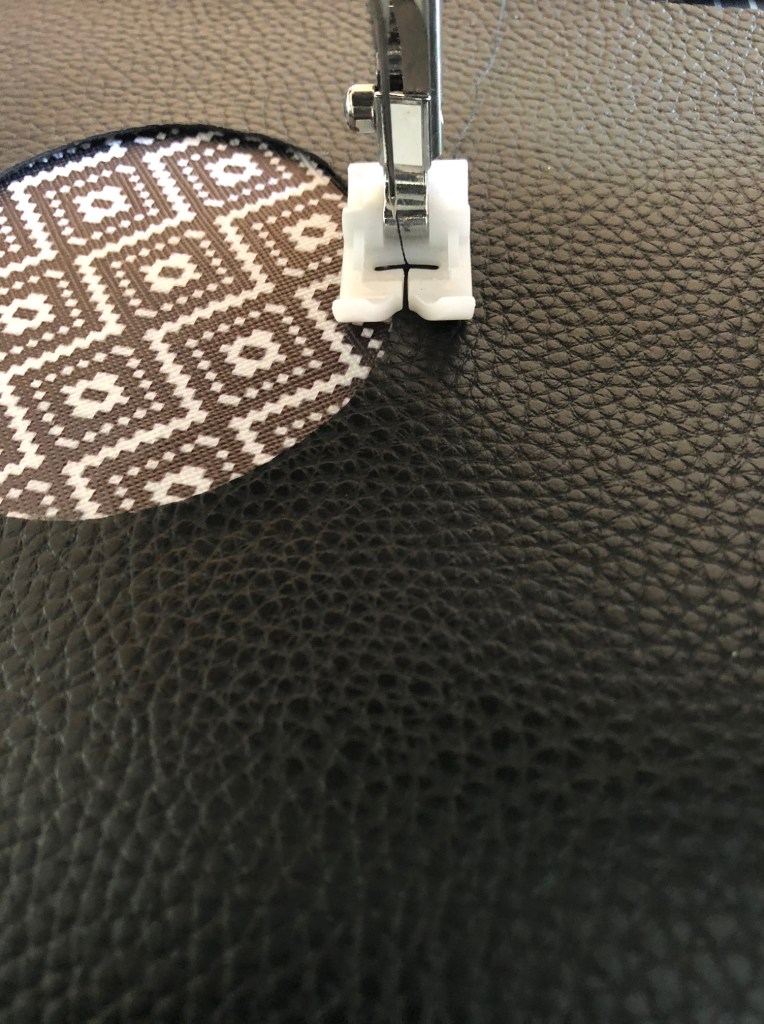
Optional steps:
- Complain you didn’t make the sizing between the two shapes large enough.
- Bitch the entire time while sewing about your minuscule seam allowance.
- Belatedly realize you could have used a square patch for the back and saved yourself an ass-load of trouble
ATTACH THE ZIPPER
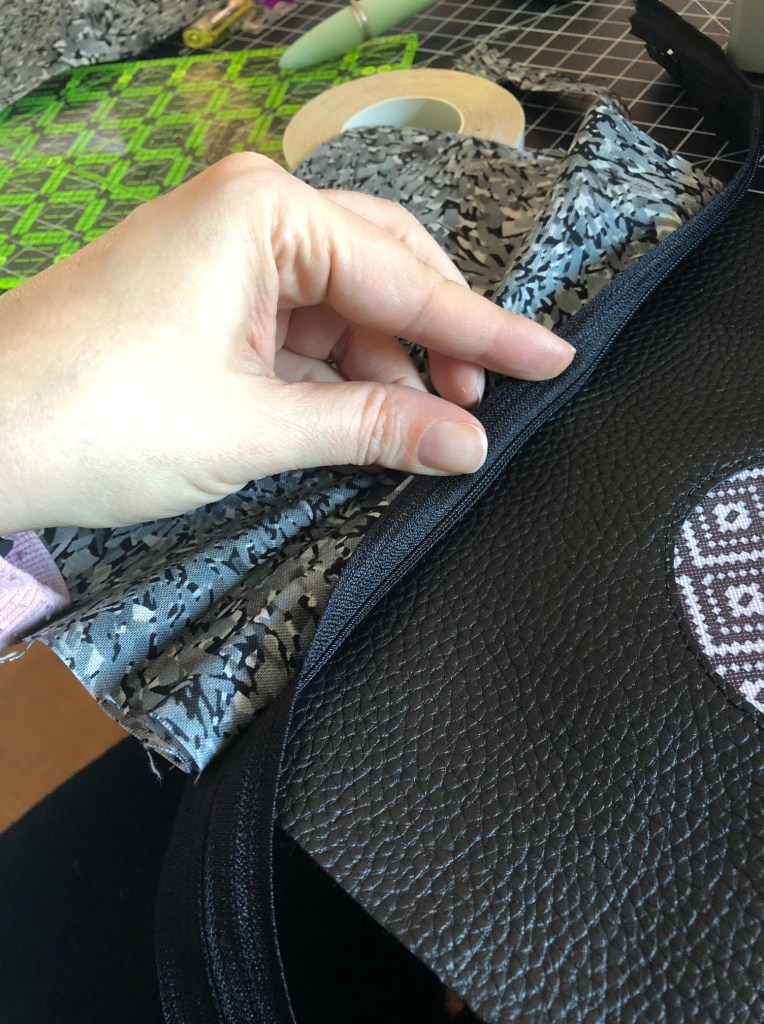
We actually attach the zipper to the outer fabric and lining at the same time. Pretty basic technique for any lined or boxed bag. Now, you may be noticing the zipper is LONG. Way longer than we need for this bag. You may also be thinking ‘Steph, this is a waste of a long zipper’ and you wouldn’t be wrong. While I’ve used a shorter one before, it makes top-stitching the outside a bitch and a half. If you want a nice, finished top-stitch, go with the long zipper. Trust me.

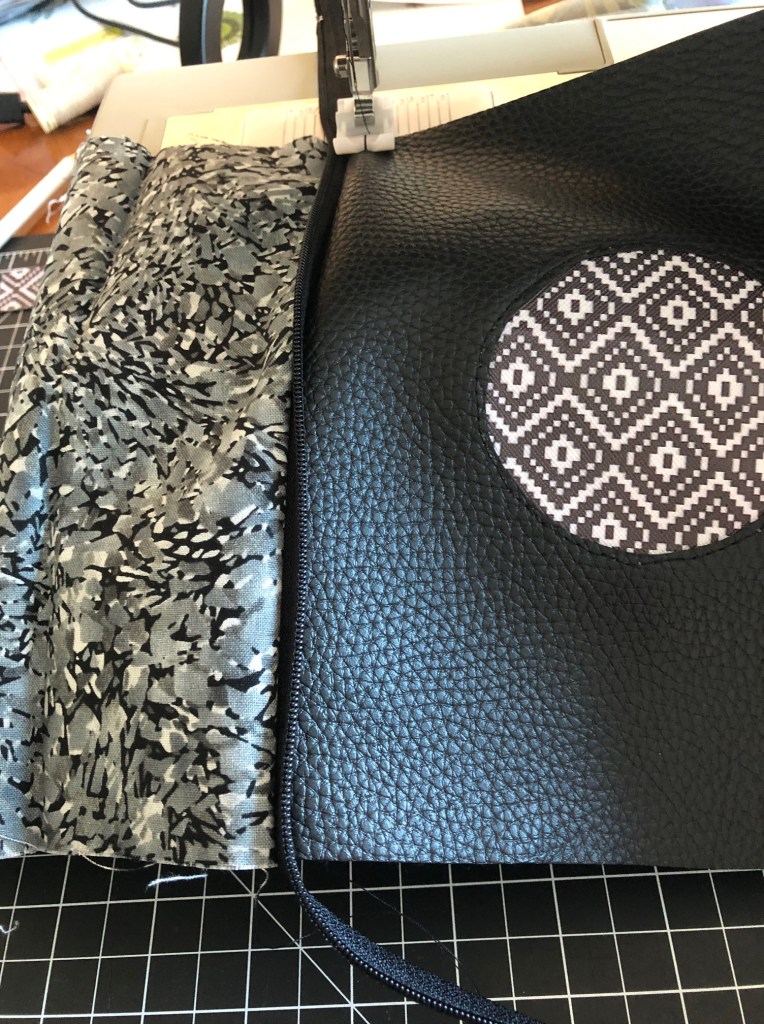
Once your zipper is attached, flatten this sucker out. Admire your handy work. ADMIRE IT. That’s long enough, get back to work.
TOP STITCH UP IN HERE
Open the zipper and stitch across the top, folding the flat side of the zipper under your foot so it all lays nice and flat. Or don’t and get weird lumps, I’m not here to judge (but I will. Because I can).
At this point, you will want to make sure your zipper is closed half way. Or more specifically, the tab for the zipper is not outside the edge we’re about to sew around. This isn’t one of those ‘hey, no big deal’ things. If you screw this up, you’ll be getting your stitch ripper out. Learn from my many fails over the years (But not this time! There were minimal fuckups on this project!)
This is the part where we turn all these pieces into a bag. BUT FIRST!
MAKE A D-RING TAB
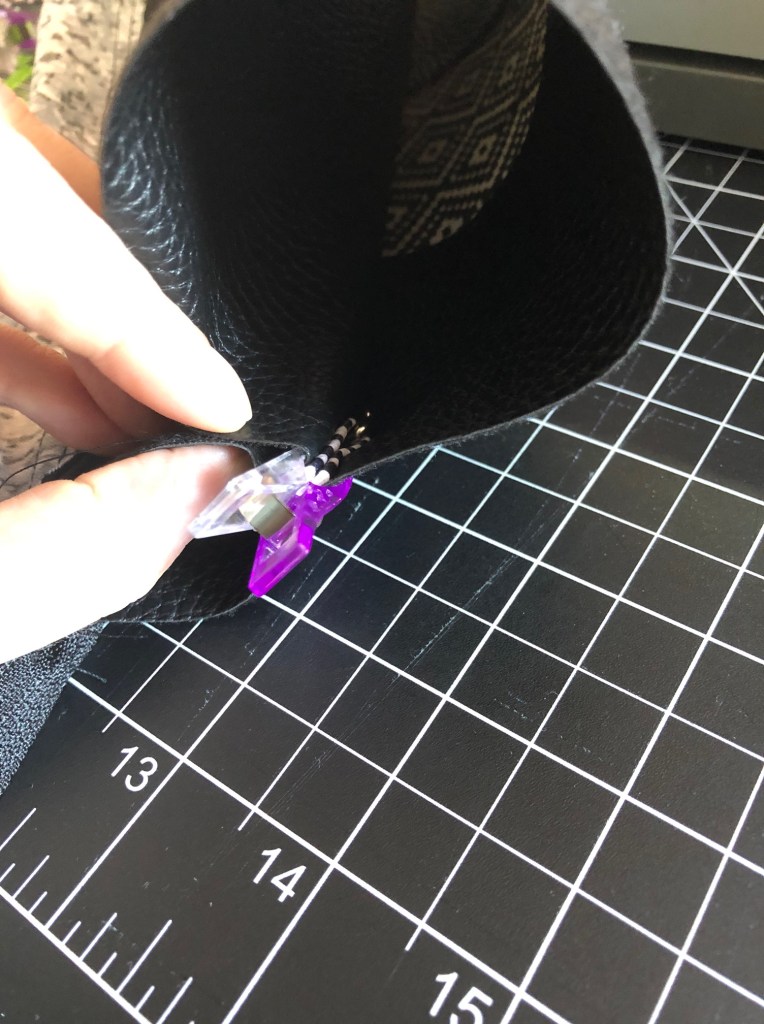
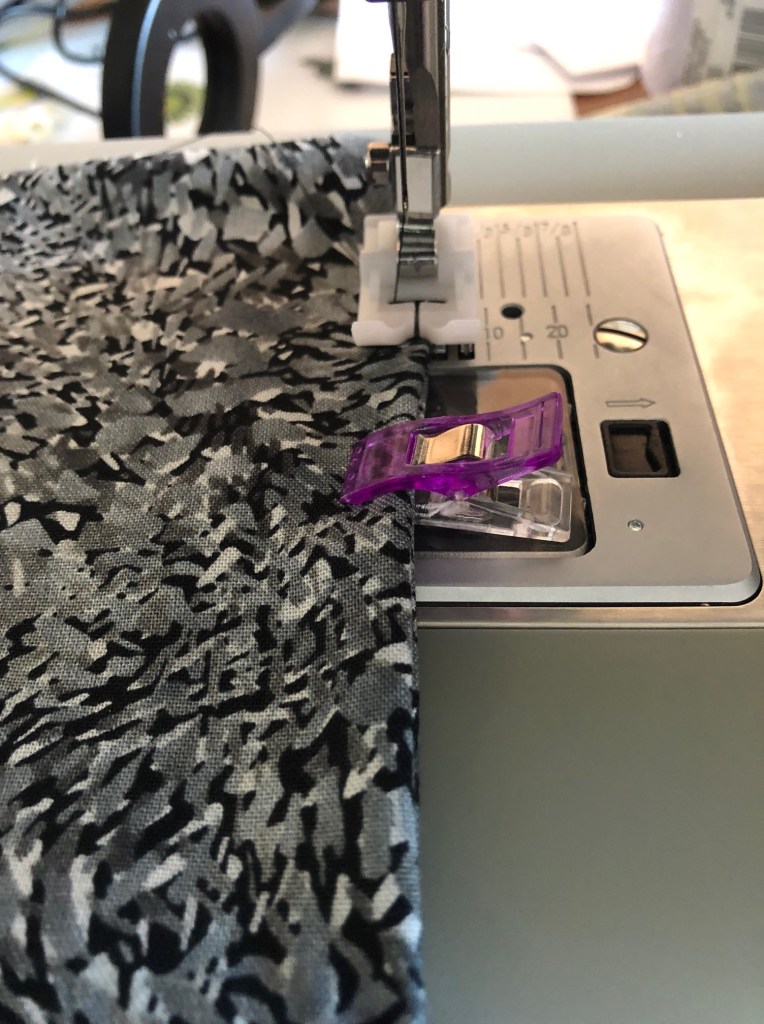
Take the shorter 1″ strip, and fold the outside edges towards the center. Clip them. Use as many as you need to. Love the clip. Embrace the clip.
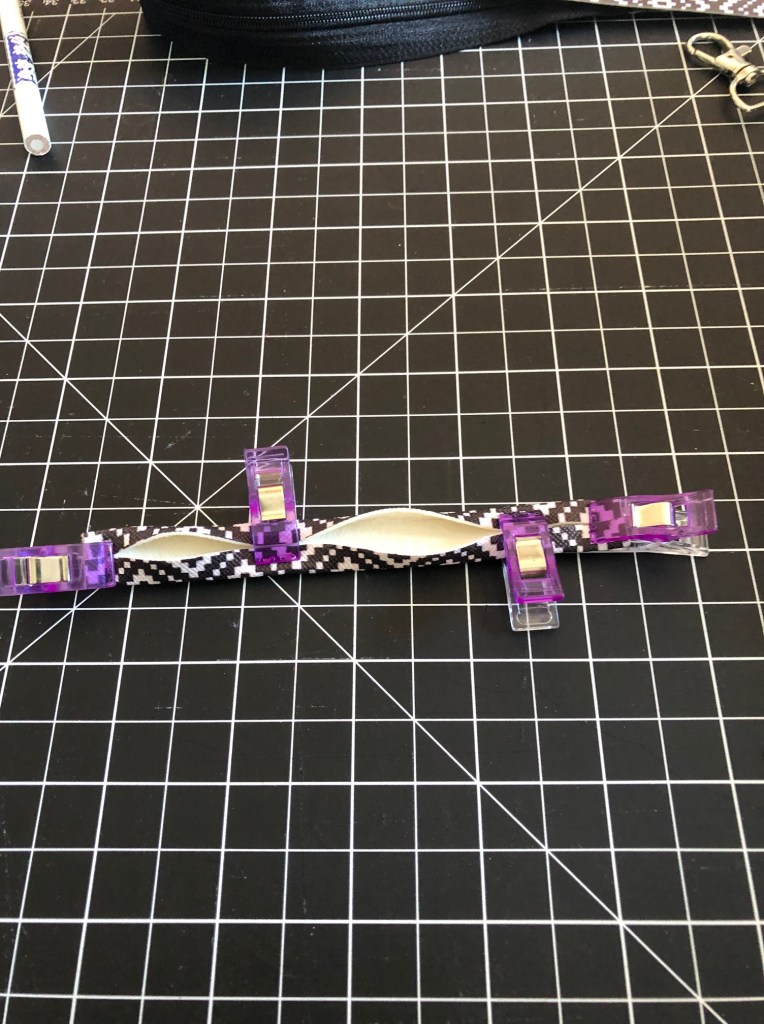
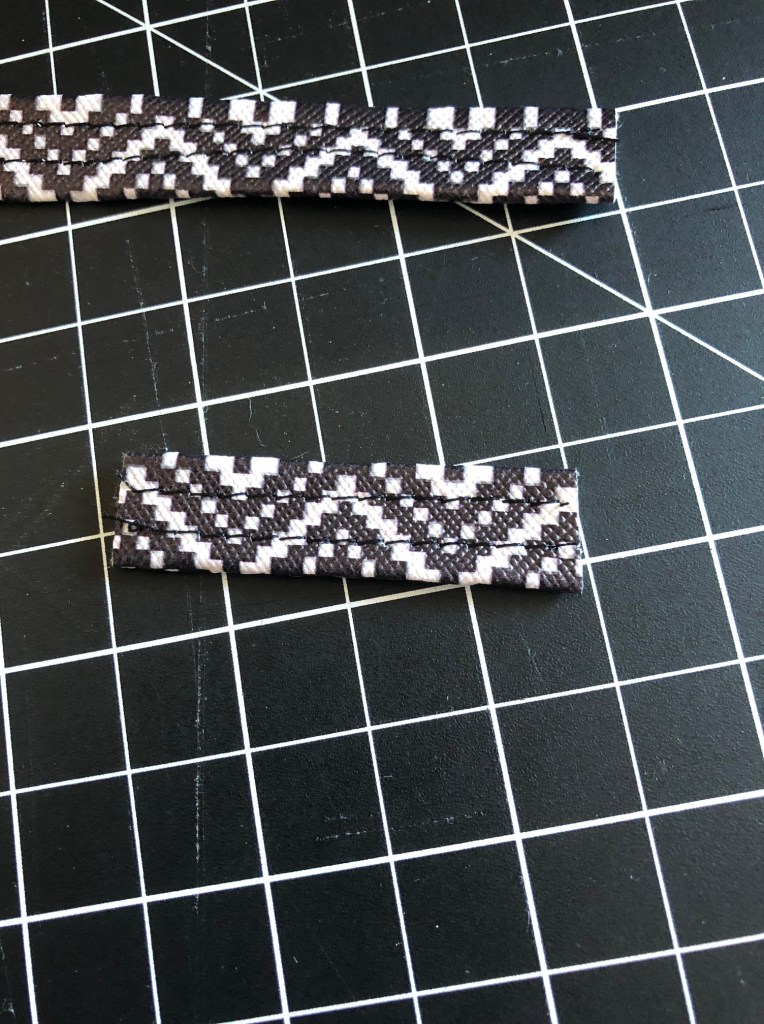
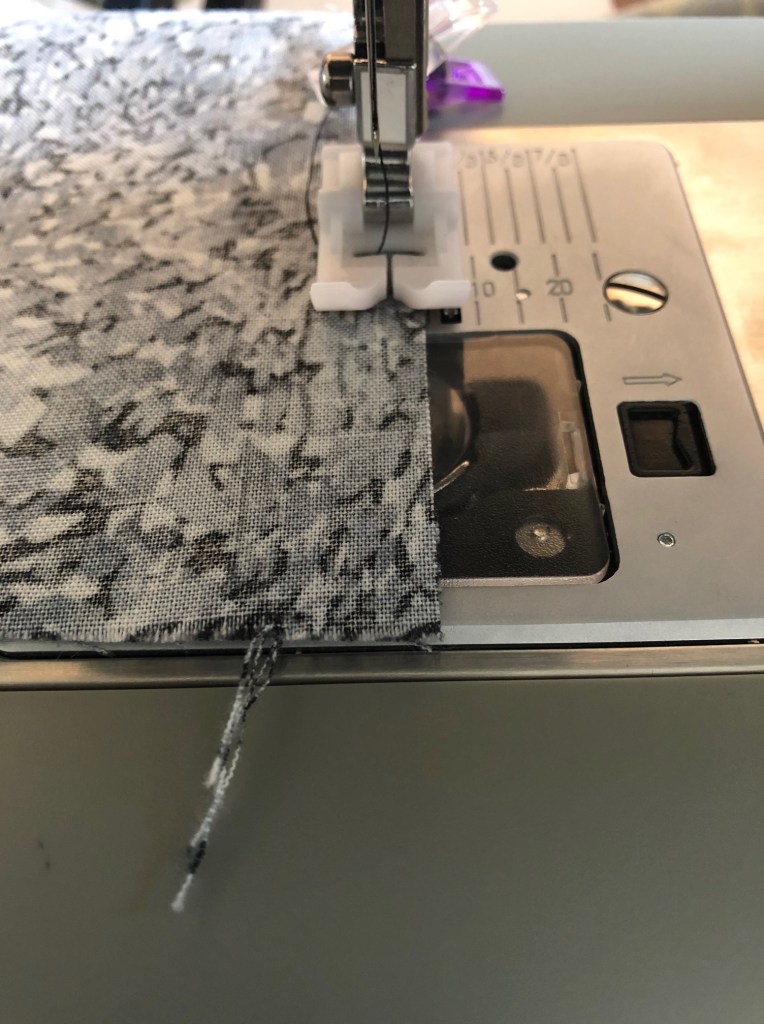
Then sew down the middle of each folded side.

Then cut a shorter piece (I like to choose the bit with the least shitty stitching!)
Fold this in half, with the d-ring in the center. Clip it together so the ring doesn’t take a hike down a heating vent.

The d-ring only needs a short little tab on the outside of the bag, so you can adjust it along the edge of the pleather exterior part of the bag, about 1.5″ down from the zipper. The ring should be tucked in so it will show when the bag is right side out (see photo below).

NOW, we are ready to…
SEW THE BAG
Checklist:
- We’ve got both an exterior and a lining?
- We’ve made sure the backing for our little cutout is covering the entire hole?
- Both of those things are sewn to a zipper?
- We top stitched the front and back exterior upper edge of the bag?
- We made a d-ring tab?
- We made sure there is a d-ring ON the tab? (You laugh, but if I hadn’t made this mistake before in the past, it wouldn’t be on here)
- The d-ring tab is clipped in the correct position, facing in, so it will show up outside the bag? (Again, if I hadn’t buggered this up in the past, it wouldn’t be here).
WELL THEN! TIME TO STITCH THIS BABY!
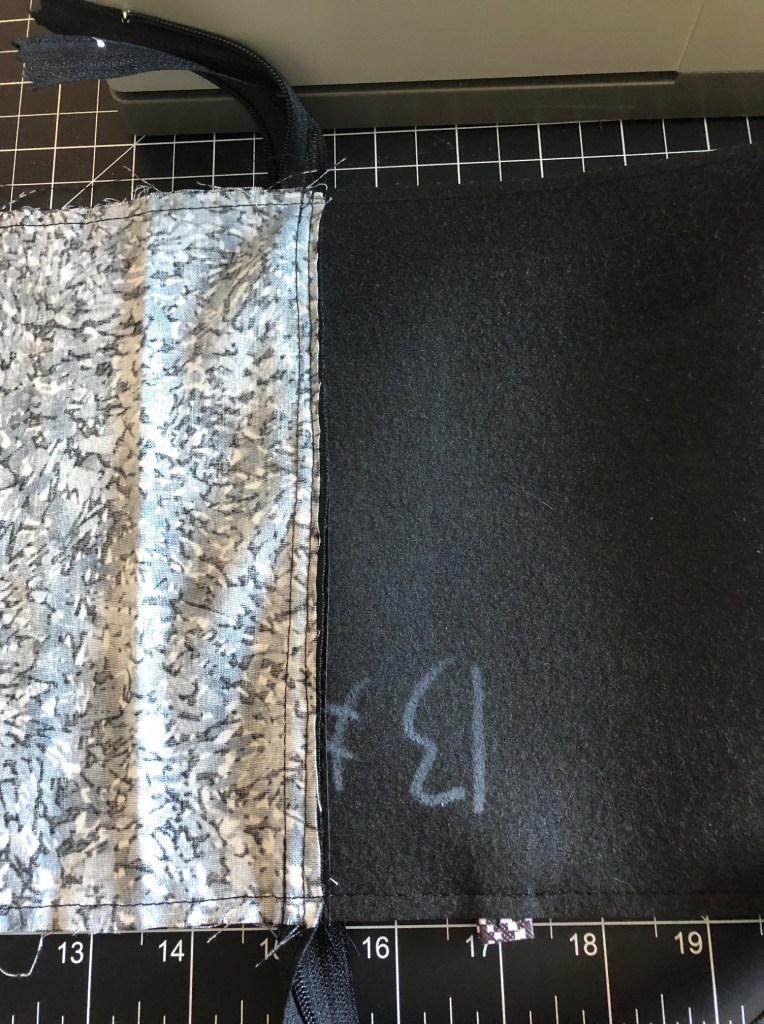
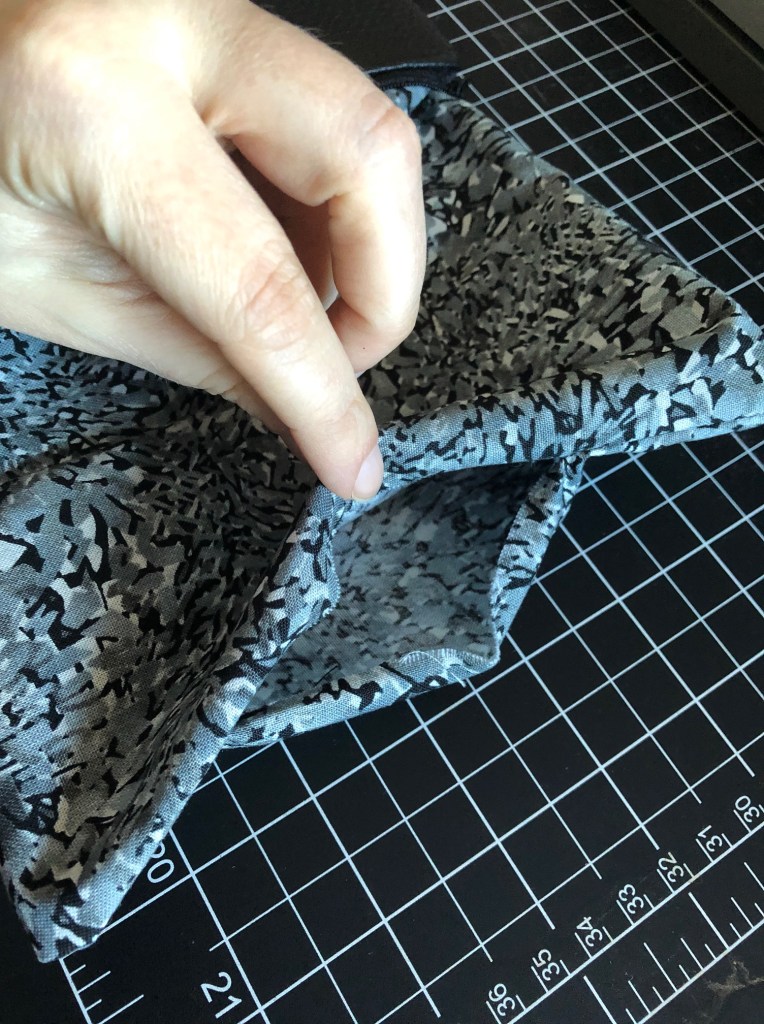
Above you see two clips at the end of the liner. That’s where we’re going to leave an opening so we can turn the bag right-side out. Sew with an approximately 1/4in seam allowance up each side from either side of the opening in the lining.
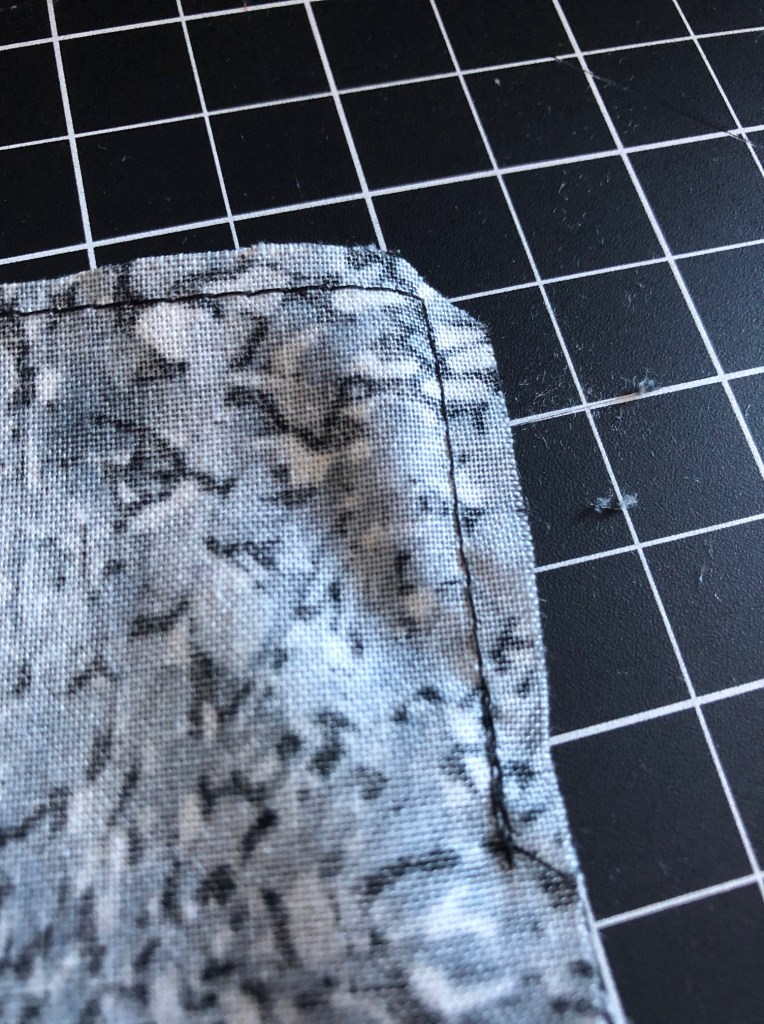
Trim your corners, because untrimmed corners do Weird Shit™ when you’re turning them.
Trim all of the extra bits from the d-ring tab, zipper, and any excess edging fabric.
Reach inside and pull the zipper all the way open. I don’t have a picture of this because I didn’t think of it at the time the inside of the bag is dark and I didn’t really think it needed a photo. Use the opening in the liner to flip your bag right side out. You may need to work the pleather part a little bit, though try not to crease it when you turn it.

Gently make sure all the corners are pressed out with a blunt pencil/ your finger/ that lipgloss with the weird cap sitting in your purse/ whatever.
Fold the edge of the opening over (it should have a bit of a natural fold from the stitching on either side.
Stitch it closed
Push the liner inside the bag and press it into the bottom so it sits nicely, and not like the messy ho we really know she is.

AAAANNND VOILA
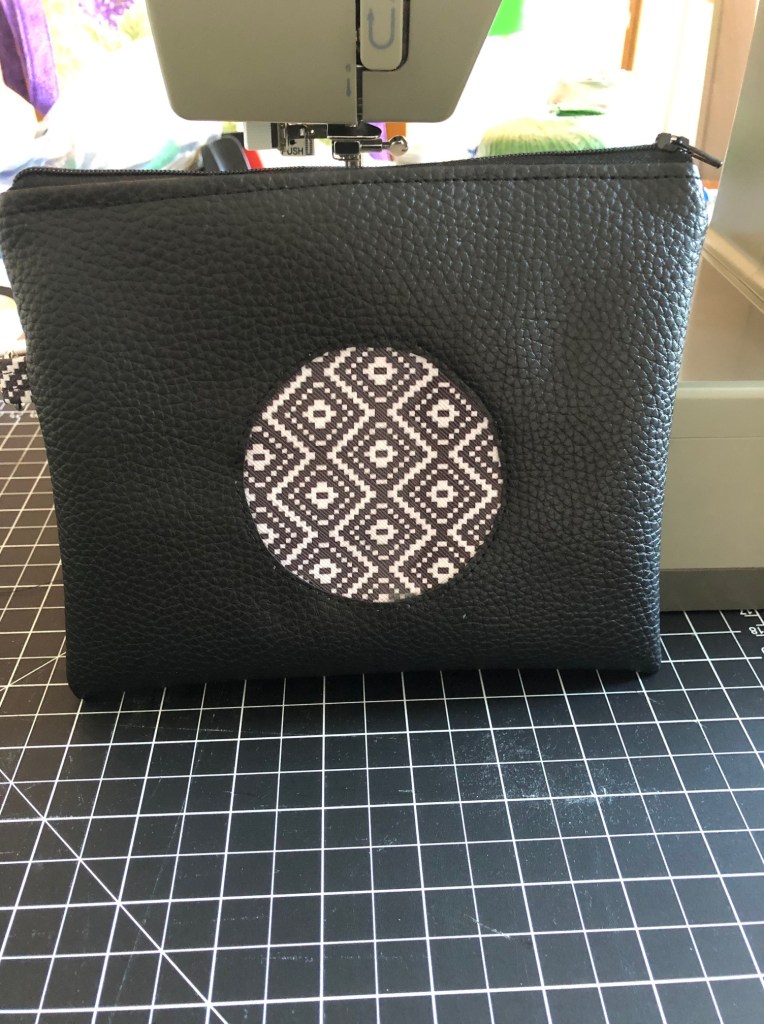
Isn’t she preeeecious?
But wait, there’s something missing…
MAKE A WRIST STRAP
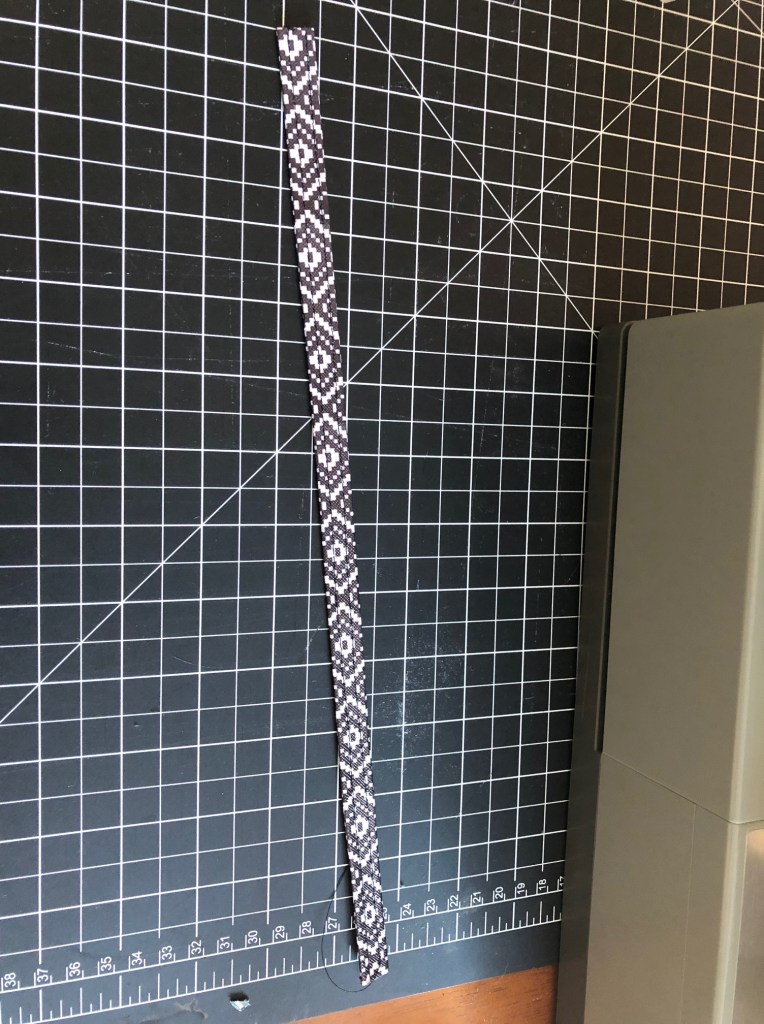
This is exactly the same process we used for the d-ring strap, only longer. Fold the sides into the middle, stitch down each side.

Fold the other end down to where the d-ring rests, and fold the tab you fed through the loop over the end you brought down. Clip it so it doesn’t go flying off.

Stitch this bitch up. I recommend going back and forth a few times. I also do two rows, just because I can.

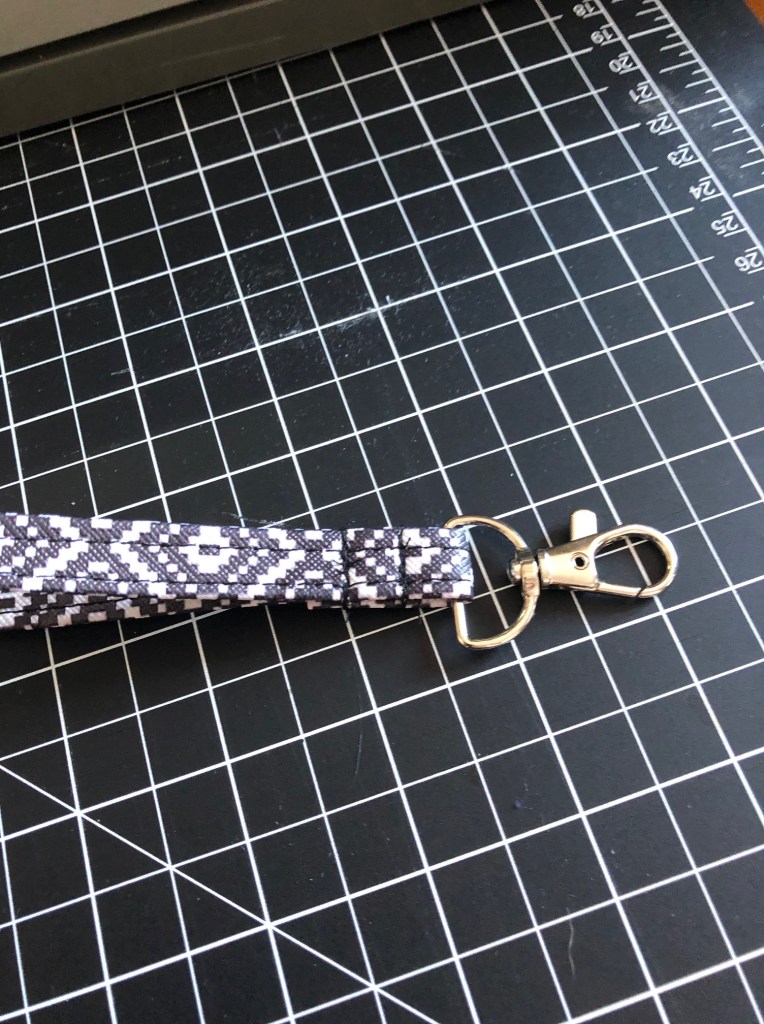
Attach it to your bag, and revel in the completion of a project. Or don’t, I’m not the boss of you.


Shop- Etsy | IG | Patreon | Youtube | Bluesky
